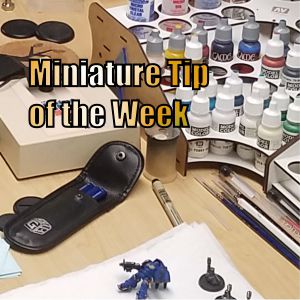
Miniature Tip of the Week – 3
Dry Fit Your Models
There is a common problem that can occur while gluing a model: the pieces don’t fit properly or they are not in the proper position, leaving a gap or mismatched piece. Thankfully, with some prep this can be easily avoided!

How many times are you gluing a model and something just doesn’t seem right? Maybe something just isn’t correct, or just doesn’t look like the pose on the box. Then, after a careful look, you find that the piece isn’t sitting as it should or maybe it’s the wrong piece. The panic sets in quickly – you just glued it in and you have a race to see if you can remove it before you have to cut it out!
The picture on the left is a great example. See the large line down the left hand side of the model – it is clearly a poor fit. This could have been corrected earlier by just dry fitting it first.
Dry Fitting is where you take the time to match up model pieces and position them in place before actually gluing them in place. This ensures nothing is stopping it from fitting properly. You also ensure you’re working with the correct piece. This helps out a lot for a better end product.
If you do have something that is blocking it from fitting properly, just calm down! No need to run everywhere and claim its a defect and want a replacement right away. Most of the time you can take a few moments and correct the issue so its a nice tight fit. It shouldn’t be a mold line cause you have already taken care of those. (See tip 2) Might be that it is a leftover part of the molding process, could be a bend in shipping, and maybe all the models are just formed this way. Lots of different things happen. Just take a moment and fix it before you start gluing.
Just a quick tip to think about!
Written by Justin